How to fit turnbutton fasteners
After reading section 1 of my Turnbuttons guide you will have seen all the different fasteners and know about their different functions.
Here I am going to explain how to fit the turnbutton eyelet and washer, then the turnbutton 2 prong stud and washer.
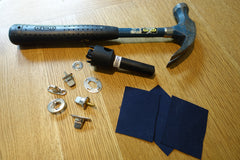 Tools, required for the job. Turnbutton hole cutter, hammer and wooden base. (preferably not your dining table)
 So taking our turnbutton eyelet and washer first, position your canvas over the turnbutton base and mark where you want the eyelet to be fixed.
Normally you would have all your bases fitted to your boat first and work from the centre of your cover out start marking the eyelet positions. Fit each eyelet fully then mark the next so you have no creases in the material.

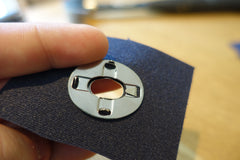
Once marked then position the tool where you require and simply strike several times with a hammer. Preferably not on your new oak table. Photo is just for illustration purposes. I went outside and used a soft wood base.
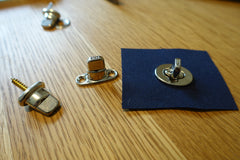
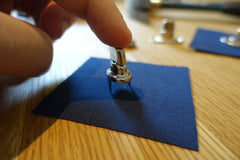
 Then insert the turnbutton eyelet through the holes and through the plate on the other side. Bend each prong down against the washer until it is firmly fixed
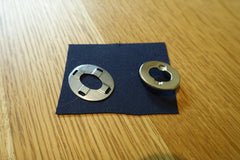
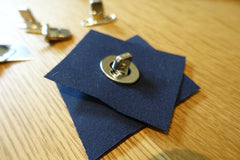
 You can now fit the eyelet and washer to any of the studs. Make sure you get the turnbutton the correct way around , as you can see from this picture the base can only be locked in one position.
 Now for the 2 prong stud. Position the stud on the canvas and hold it down firmly to make an indent on your cover.
 Then with a sharp knife, simply cut the two indents about 3-4mm wide.
 Then insert the 2 prong stud through the canvas and also through the washer on the other side. Again bend down the prongs against the washer to secure the fastener.
 You can now fit the eyelet and washer to the 2 prong stud and washer.
All our turnbuttons can be found in our shop here